
You are logged in as a guest, we recommend that you log in or go
process of registration. If you forgot your password, you can restore it
Navigation
Top News
Statistics
Advertisement
Аrchives
Votes
| Rate the site |
ODIS-Service 5.1.6 + PostSetup 89.5.60 + ODIS-Service update 5.1.6 Full
Author: carsoftos777 | 3-08-2021, 02:35 | Programs for cars and diagnostics | Views: 11 142 | Comments: 0 | Found a bug?

Description: ODIS Service (Offboard Diagnostic Information System Service) dealership software for working with VAG-group cars (Audi, VW, Seat, Skoda, Lamborgini, Bentley).
Can be installed on VAS 5051B, VAS 5052A, VAS 6150, VAS 6150A, VAS 6150B, VAS 6160 or standard desktop or laptop computers and used with VAS5054a, VAS 5055, CarDAQ-Plus, iFlash, PassThru SAE J2534.
Add. Information: ODIS Service is installed at any authorized VAG service station, it is a very powerful software product for performing various diagnostic procedures in the following vehicles: Audi, VW, Skoda, Seat, Lamborghini, Bentley, Bugatti, MAN TGE since 2017 (use DC-DC adapter).
It is possible to "flash" control units using ODIS Service, but only with official online access to the VAG servers. Working without this access, you will have access to: guided diagnostics, coding, adaptation, launching convenient service tests and procedures (with tips at each stage of what to do and how to do it).
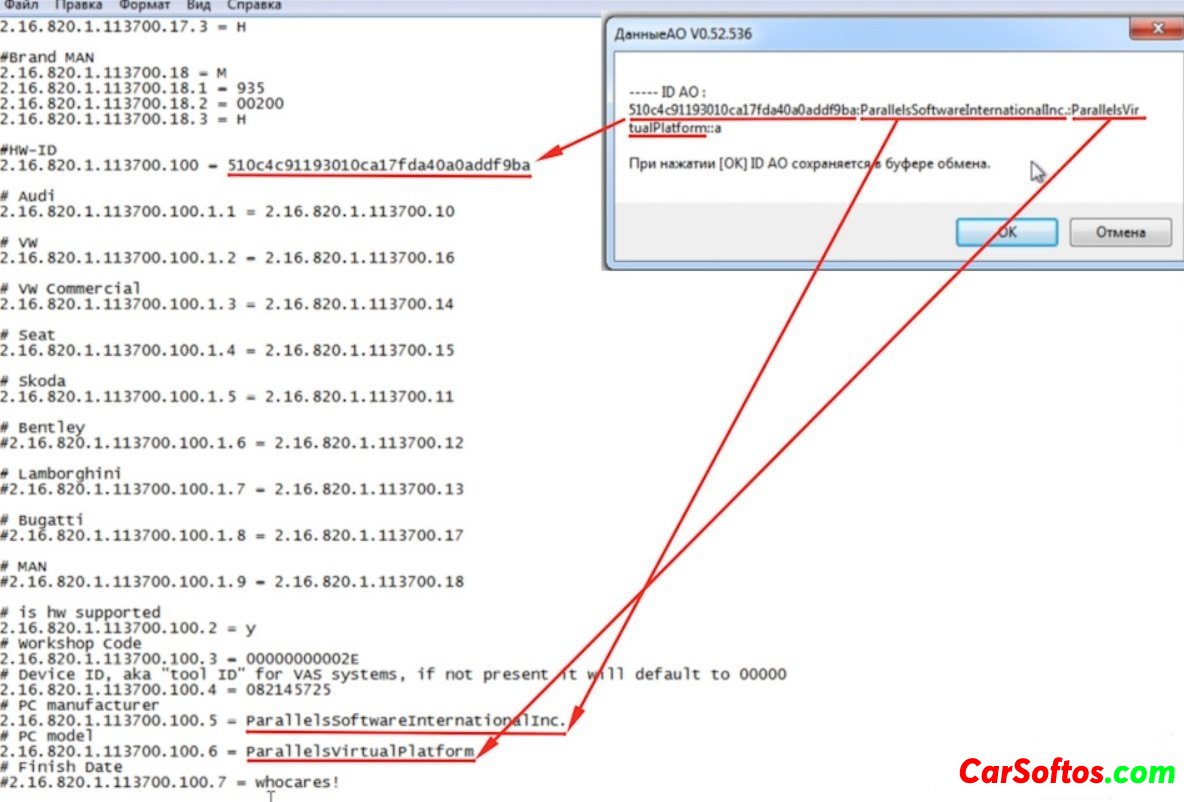
INSTALLATION:

Year / Release Date: 2019
Version: 5.1.6
System requirements: Windows 7, Windows 10 (32/64)
Interface language: Multilingual

Tags:
Information
Users of Guests are not allowed to comment this publication.
Users of Guests are not allowed to comment this publication.